If you prefer to read the lesson, rather than watch the video, I’ve got you covered!
Lesson article:
Running a Container
Now that we’ve learned the basics, we’re going to dive in to some specifics. In this lesson, we’ll learn how to run a container. What we’ll be doing is executing commands in containers running on your computer. The containers will start up and run, and then shut down.
In future lessons we’ll talk about starting and running an entire environment of containers, keeping them online, running in production, etc. But for now, we’re just going to focus on running commands.
The first thing to note is that hub.docker.com is where you go to find public images. For instance, if you want a PHP image, you can go here to the official PHP image.
And you can note on the tags tab that there are many different tags for the PHP image.

With Docker images, tags are different versions of an image. Tags are deleniated by a colon. For instance, php:8.4.7 where 8.4.7 is a tag that is available.
Note
For pretty much every image, you’ll see a tag called “latest”. That is a convention in the Docker world that the most recent image is always tagged “latest.” So for instance, if you did docker pull php:latest, you would get the most recent version of the vanilla PHP image.
With most images, tags are used as a type of version control method. For instance, if you have an older application that can’t yet run PHP 8, you can run PHP 7 by specifying one of the 7 tags.
The docker run command
So let’s get started running an image. To do that, you’ll use the docker run command with some arguments.
Here’s the command you’ll run: docker run -it php bash. Let’s break that command down. -i is the flag for “interactive” and -t is the flag for teletype. So those two flags are telling the Docker container that you want an interactive session with the container.
The first argument after run — in this case, php — is telling the run command which image you want to run. If you do not specify a tag with a colon (something like php:7.2) then it will default to :latest.
The second argument after the run command is what the container should execute. In this case, we want to run bash. Not all images may have bash, but PHP does, so we’ll run bash here in our interactive session.
So go ahead and run the command:
docker run -it php bash
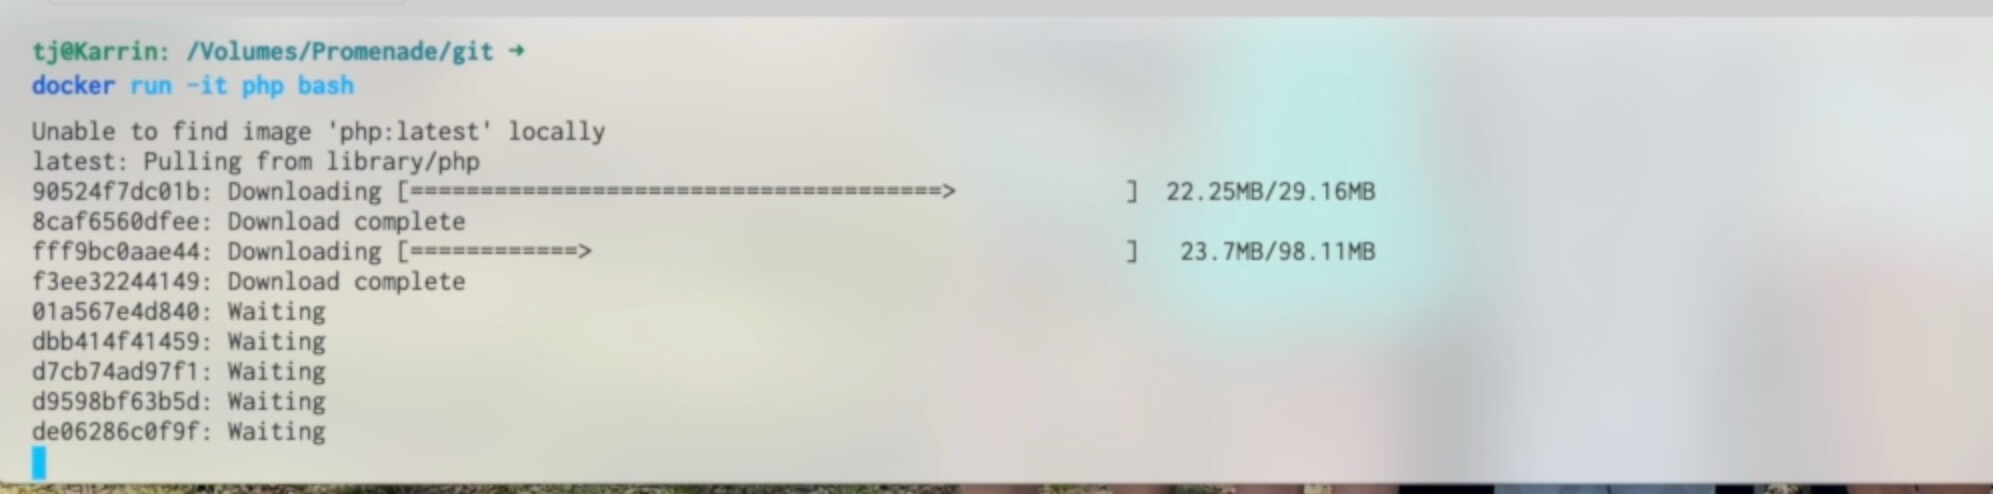
Notice if you’ve never run or pulled the image before that it will download the image.
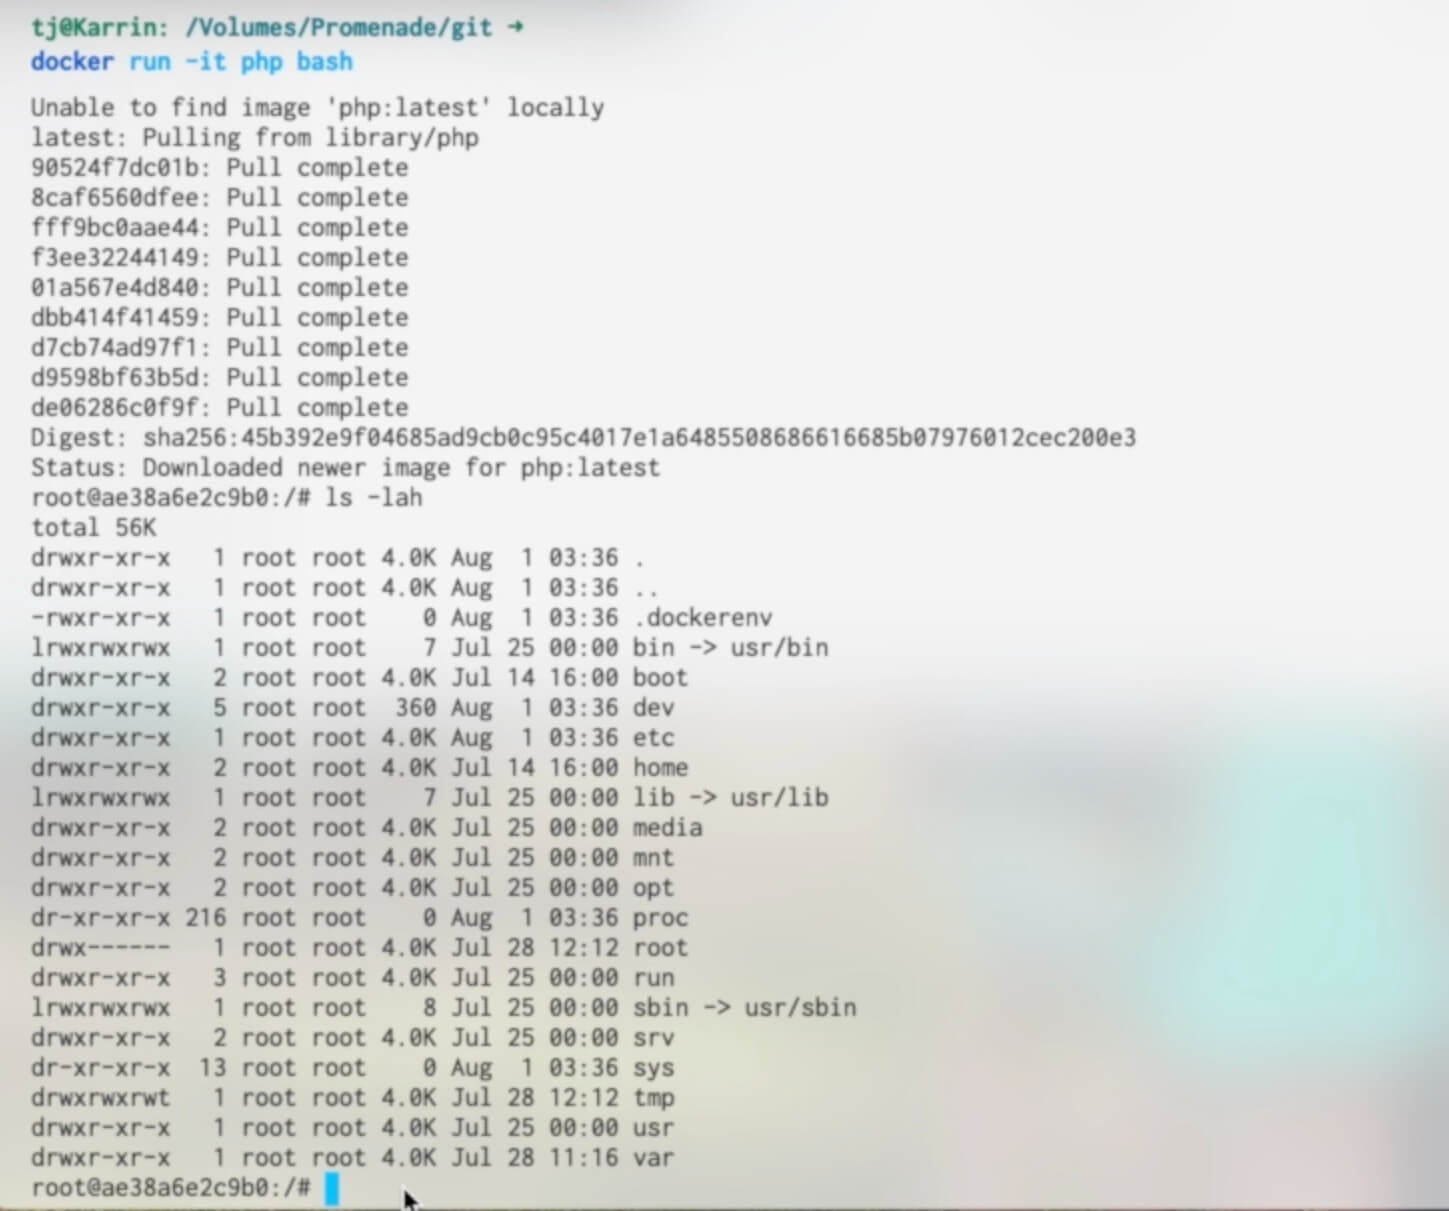
After the image downloads (if needed), you should be in a bash session inside a running PHP container. For instance, if you run ls -lah in that session, you can see all the stuff in the root of the container that you’re in.
The docker ps and docker rm commands
Now if you exit the container, the container will stop running. But here’s something important to take note of: we didn’t specify what to do when the container stopped running. So the container, or the ghost of the container, is actually still sitting around, stopped, not running, but there.
You can confirm this by running docker ps -a. ps lists containers, and the -a flag tells the command to list all containers, including the stopped containers.
Note
By default, docker ps will only list running containers. Use the -a flag to list even stopped containers that still exist.
Go ahead and run this command now:
docker ps -a

It should list the container you just ran with a status of Exited, which means it’s no longer running.
If you’re using Docker Desktop (or OrbStack), you can also see in the GUI interface the status of containers, including containers that have exited and are no longer running, and you can delete them from there.
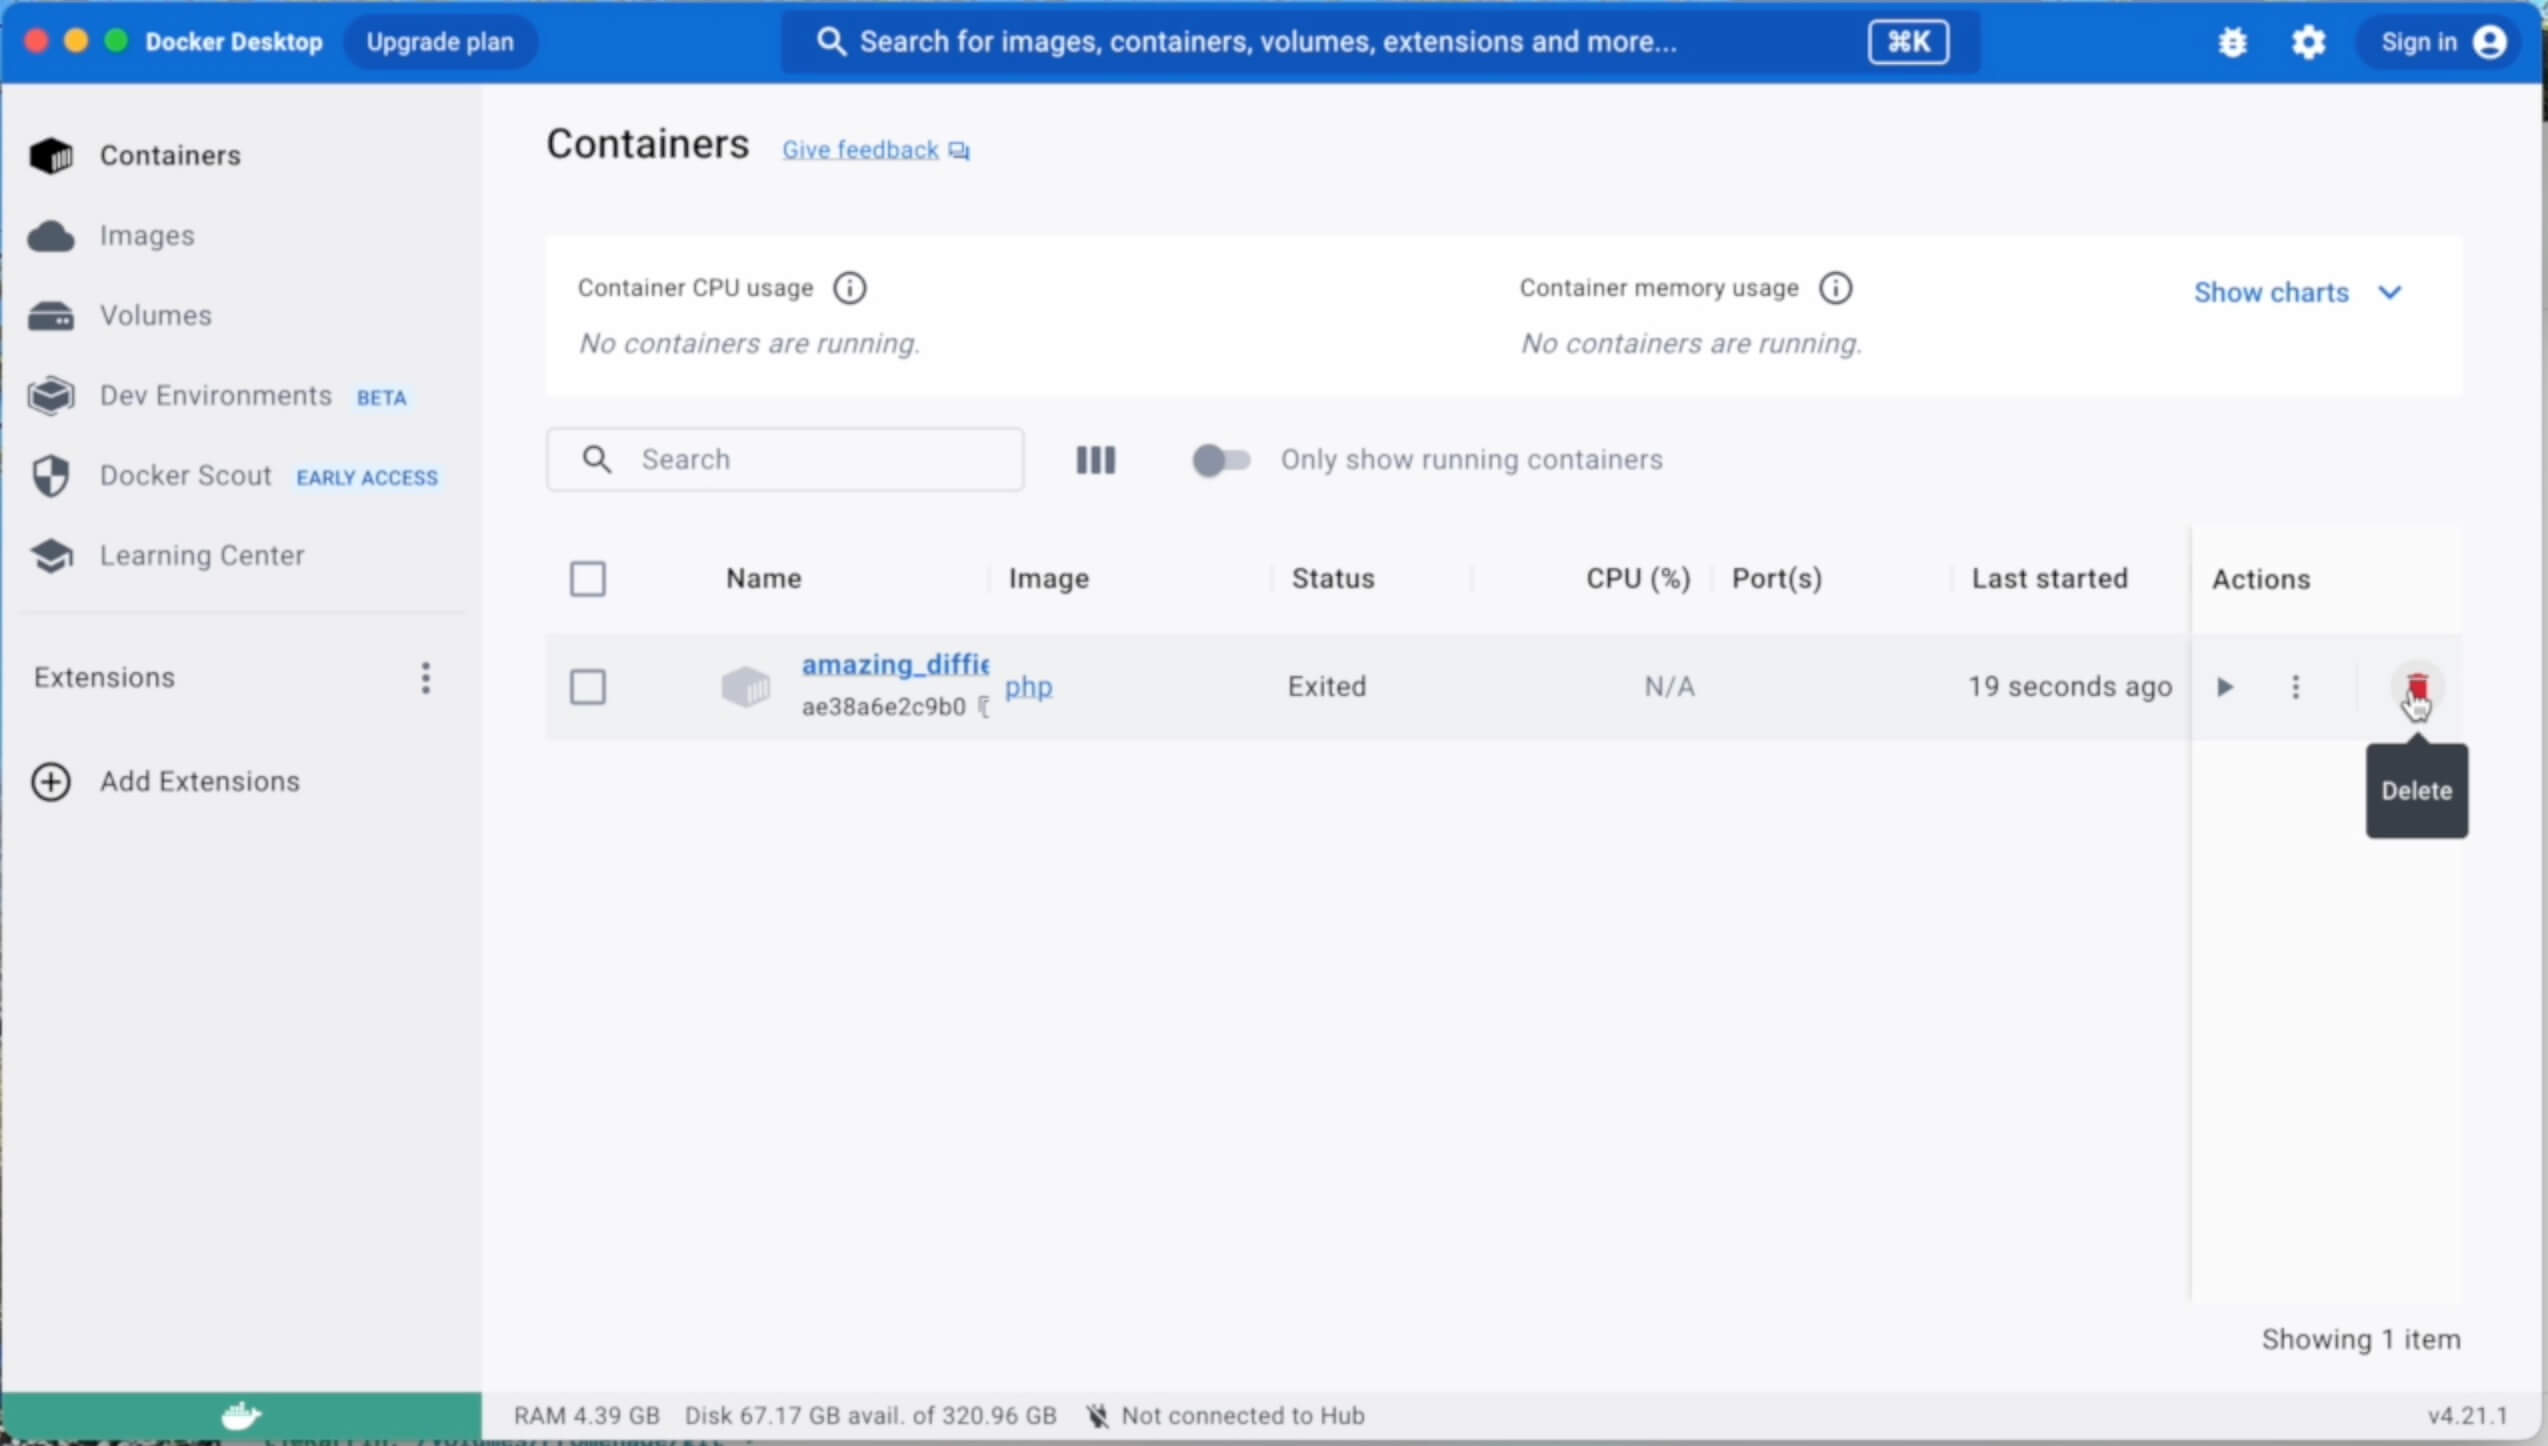
You can also use the docker rm command, sending it the ID of the container to rm as the first argument. The argument doesn’t have to be the full ID, but requires enough of the ID to be unique. Usually just the first three characters of the ID are enough.

The --rm flag
What we really want to do most of the time is have a container auto-remove itself once we’re done with it. To do that, you can use the --rm flag with docker run, and that will instruct Docker to remove the container when it exits.
So go ahead and run that command now:
docker run -it --rm php bash
Once you’re in the container, go ahead and type exit and press return to exit the container. And now if you run docker ps -a you’ll see that the container is not listed.
Running a command then exiting with -c
Something that may be a little more useful most of the time than dropping into a command line session in a container is running a command then exiting.
For the purposes of illustration, I’ll show running the ls command to list files and directories inside the Docker container — which is probably not all that useful in your day-to-day Docker activities, but it should give you an idea of how to run commands.
We’ll continue building on the same command we used before: docker run -it --rm php bash, but now we’ll add the -c option with a command to run. To run ls that would be like this:
docker run -it --rm php bash -c "ls -lah"
That will print out the list of files and directories in the working directory of the image and then exit.
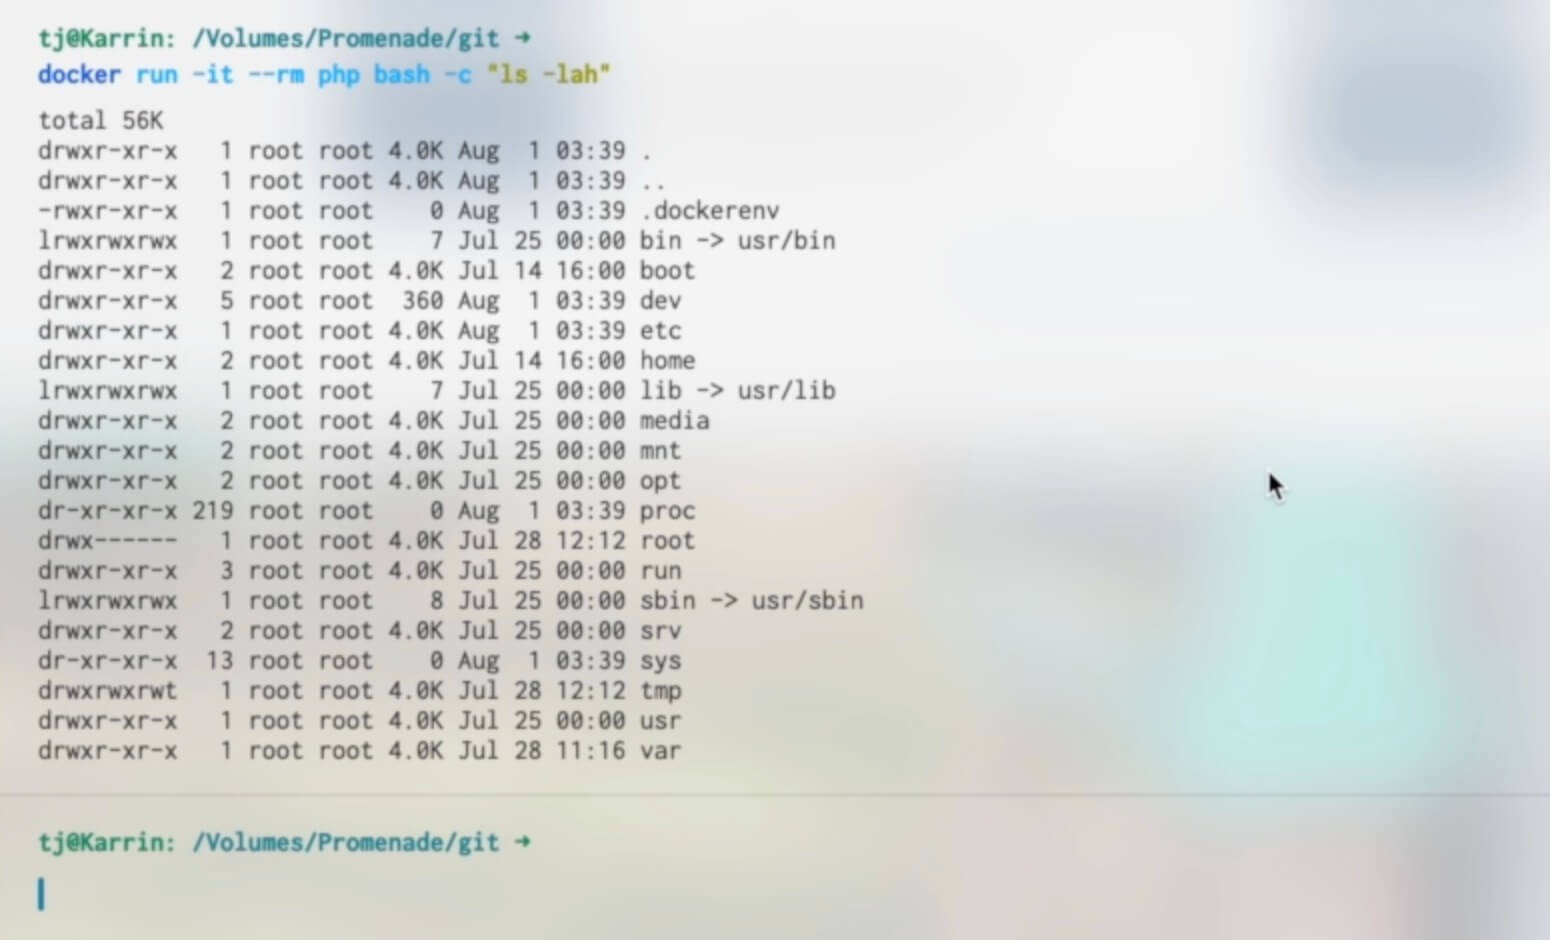
And because we used the --rm flag, the exited container will also be removed once it has finished running the command.
Running the php:apache image
Now let’s do something a little more useful. We will now get the php:apache image running and serving a website. The PHP images all have Apache tag variants with a basic Apache setup ready to go and serve a website.
In order to serve a website from docker run with that image, we’ll need to specify a port mapping — which we talked about briefly in the Docker Key Concepts lesson.
The basic concept is this: map an unused port on your localhost, to the port the Docker container is serving content over. For websites that will be port 80.
Note
You can also, of course, configure Apache to serve SSL and HTTPS with SSL certificates over port 443, which is beyond the scope of our lesson here, but do know that it’s certainly possible to do that.
To do the port mapping with the docker run command, we’ll need to use the -p option. For the purposes of this demo command, I’ll use 9000 for the port on the host. That is probably unused on your localhost as well. If it is in use, you can choose any other unused port. Here’s the command:
docker run -it --rm -p 9000:80 php:apache
The port on the left side of the colon is the port to use on your localhost, and the port on the right side of the colon is the one to map to inside the container. So with that command above, if you hit http://localhost:9000 on your localhost, it will hit port 80 inside the container.
Go ahead and run that command now. Once it’s running (if you’ve never used that image before, Docker will need to download it first), Apache is now ready to receive connections. Go ahead and load http://localhost:9000 in your browser.
Now, of course, there’s nothing for Apache to serve in this container, so you’ll get an error message from Apache.
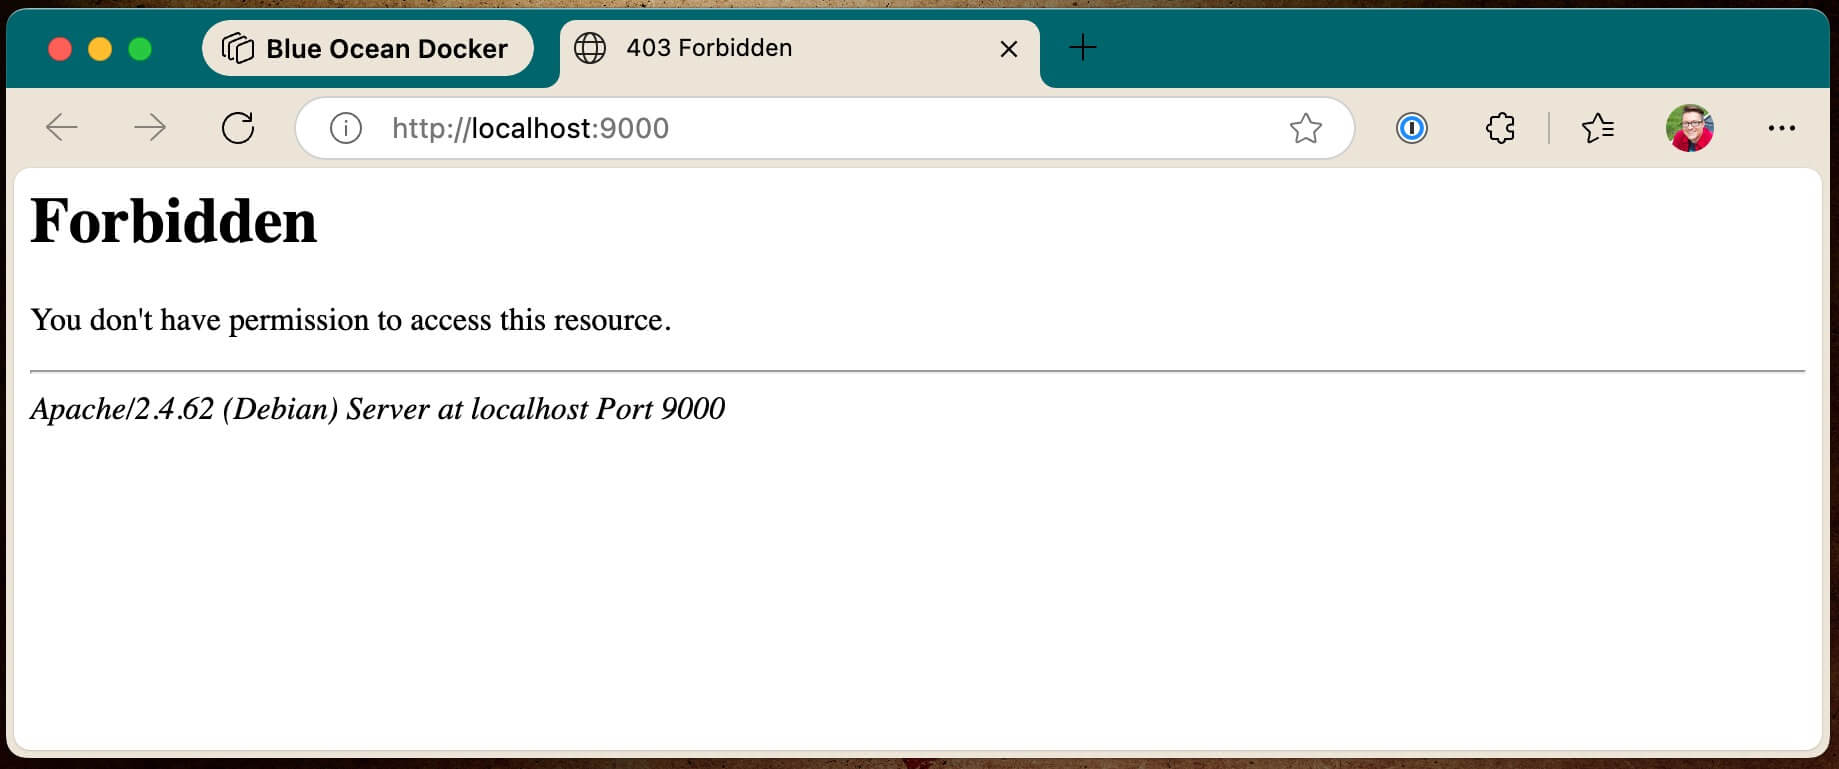
But in this case an error message is actually good if it’s coming from the container and Apache. It means the Apache container is online and serving things through the port map.
And now at this point if you send the interrupt signal (ctrl + c) to your terminal running the php:apache container, it should shut down and the exited container should be removed.
Mounting a directory with an index.php file for php:apache to serve
Now we’re going to get Apache and PHP to serve up some very simple PHP through that Docker container. In order to do that, create a directory called php-example. Then place an index.php file in that directory with the following contents:
<?php

echo 'hello world';
The command we’ll run to serve this index file is as follows:
docker run -it --rm -p 9000:80 -v $(pwd):/var/www/html php:apache
Let’s break down the new part of this command here. We’re using the -v option (v stands for “volume”) to mount a local file system resource on the local computer into the running Docker container. pwd stands for “print working directory” so it prints out the current location of your bash session into that command on the left side of the colon. The left side of the colon is the “source” path of the local filesystem resource.
On the right side of the colon is the path to mount the filesystem resource into in the running container. In this case, we’re putting it where the default Apache configuration in the container expects to serve from.
So armed with that knowledge, from a bash session cded into the php-example directory, run the command above. Once that’s running, load up http://localhost:9000 in your browser again. You should see your successful “hello world” page.
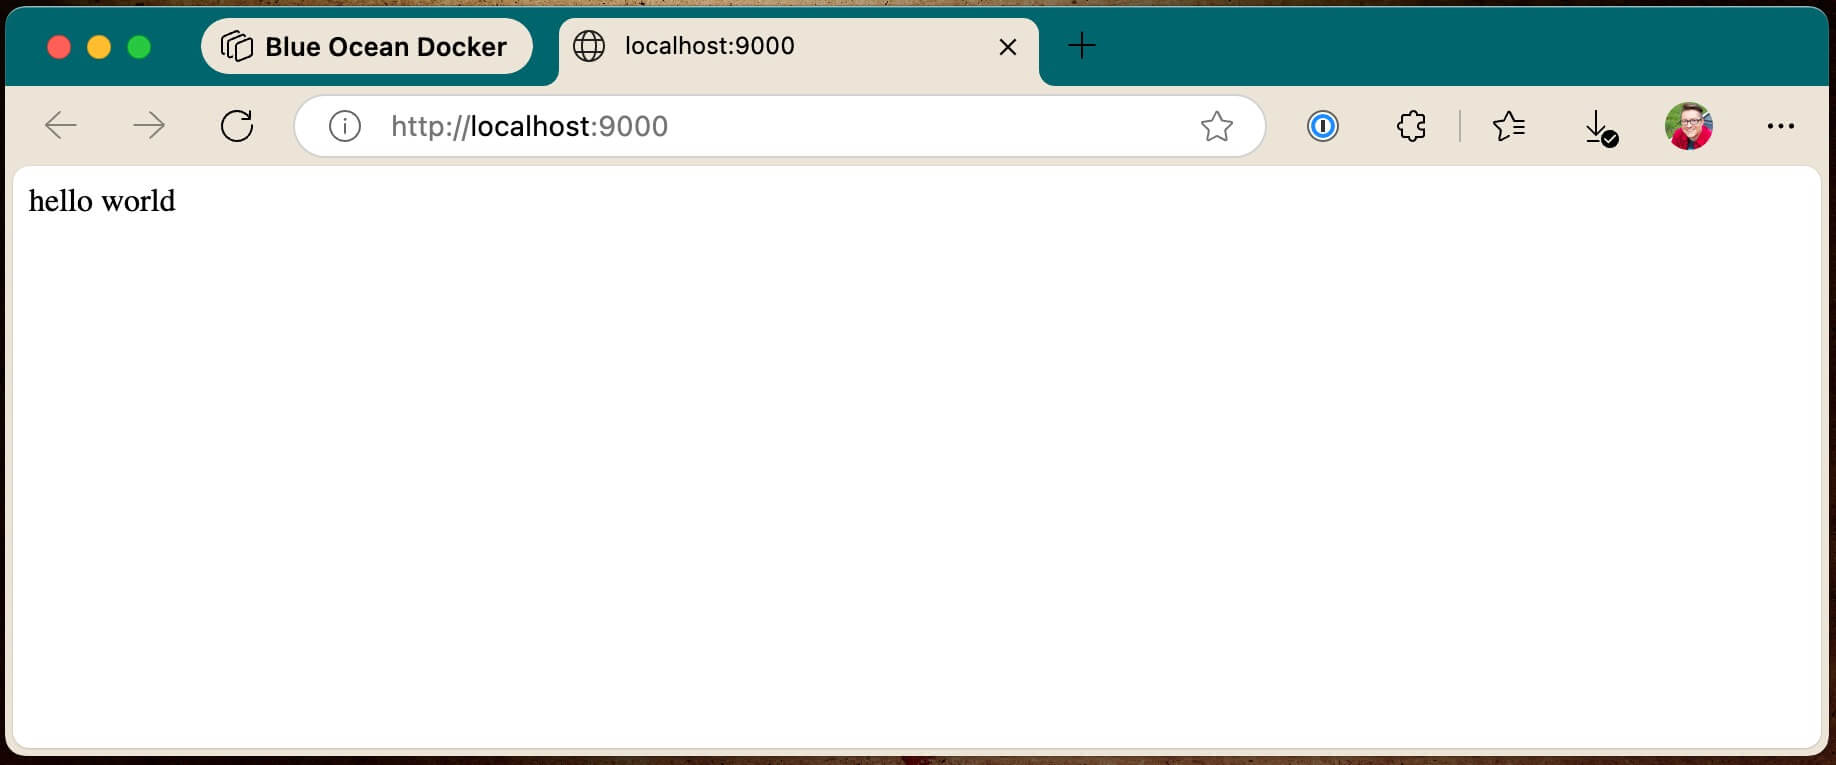
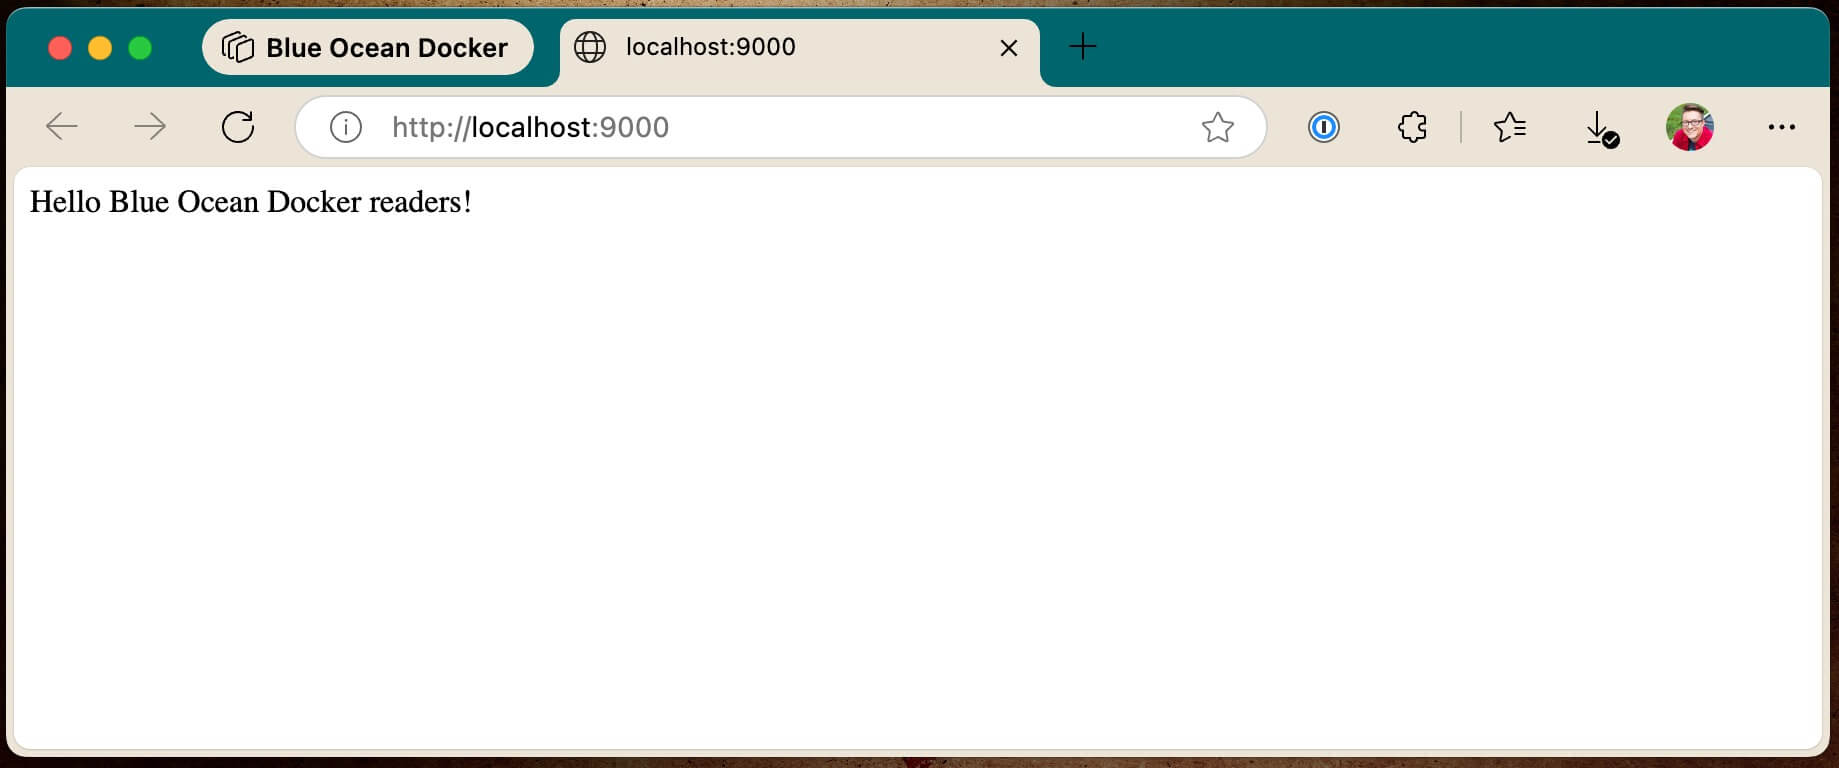
For bonus points, you can edit the “hello world” response to be something else, refresh the page, it should be reflected there.
Other applications
The usefulness of Docker becomes more apparent and more powerful when you realize you can use it to run and manage versions of software and applications that are different across projects and services. For example, let’s say that we have an older project that is running Node 12 (yes, yes, I know, very outdated — that could never happen in the real world to a real project…). With Docker, it becomes trivial to use a Docker image of Node 12 for that project, and not have to manage various versions of various projects and software stacks.
To install yarn dependencies in that node project, you could do something like this:
docker run -it --rm -v $(pwd):/app -w /app node:12 bash -c "yarn"
That makes things super simple, and version control of engines and languages easy. And that’s just a small taste of the power of Docker.
In future lessons, we’ll explore how to create projects and multi-container environments that keep themselves running with Docker Compose, and how to take that all out to production.
]]>If you prefer to read the lesson, rather than watch the video, I’ve got you covered!
Lesson article:
Docker Key Concepts
When trying to understand any technology, often the best place to start is with the key concepts. And so in this lesson, we’ll give you a basic understanding of some of the fundamental concepts in the Docker landscape.
Containerization Technology
The first thing to understand is that Docker is a containerization technology. Now, you may be saying, “Great! but what does that mean, exactly?”
Well, in the Docker context, a container is a bundle of software and all that software’s dependencies, packaged together in an environment that it can run in. The goal of this packaging it to abstract away the hosting platform and give the application the same environment to run in, every time and every place that it may run.
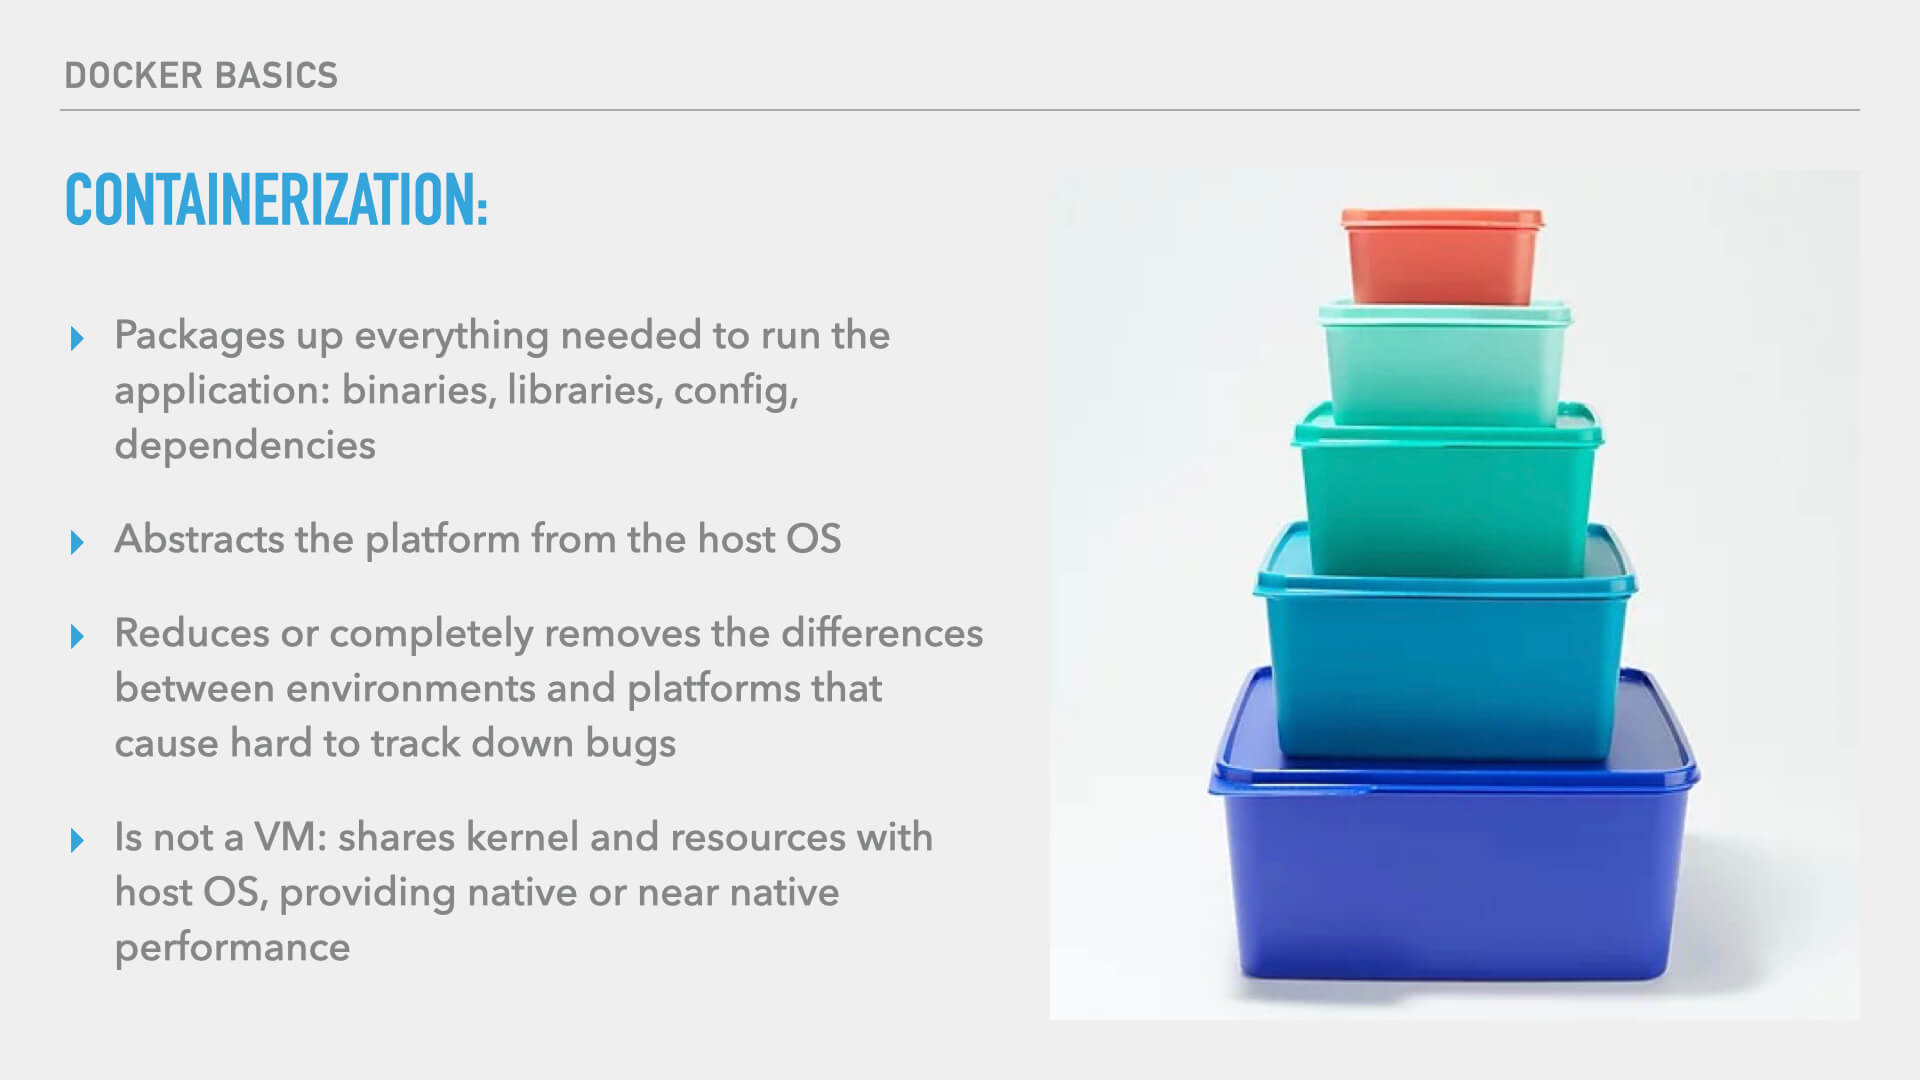
Containerization with Docker packages up everything needed to run an application: this includes:
- the lower level binaries on the server
- all the libraries
- configuration
- dependencies of the application
Containerization abstracts the host platform that your application is running on, and removes differences between environments that make bugs difficult to track down.
Notably, this is not accomplished with virtual machines. Perhaps you remember the days when many developers were using virtual machines both in local development and even in production environments. These tended to have poor performance and a host of other problems. With Docker, performance will be native, or near the native speeds you’d see if you ran all the software on the server outside of Docker.
Note
While I’ll cover some of the most basic concepts to help you understand how Docker works, if you’d like a deeper dive into the technical, I recommend this article on Citrix.com titled, “What is Containerization.”
Images
Now let’s turn our attention to the concept of “Images.”
In the Docker world, images are what we call the containerized bundles of libraries and code. Docker images are used to run a container (which we’ll define in a moment). Docker images are created using the docker build command from the instructions developers put in Dockerfiles. The created images are self-contained bundles of libraries and code. You can liken a Docker image to an inert, immutable file. It’s essentially a snapshot that should have everything needed to run the application.
Tip
Think of a Docker Image like a snapshot of a given time and state. The Docker Image is a frozen snapshot state of the application at the time the image was created.
Container Registries
Images exist in “container registries,” which, unfortunately, is a name I find a tad confusing because containers are distinct from images. Nevertheless, the created images have to live somewhere, and that somewhere is container registries. Your dev environment, build server, staging server, and your production server will all have a local cache or store of images, and those locally stored images are downloaded from remote container registries. hub.docker.com is the default, public container registry, but you can also host your own private registries or use services that provide private registries such as GitHub, Digital Ocean, and more.
Containers
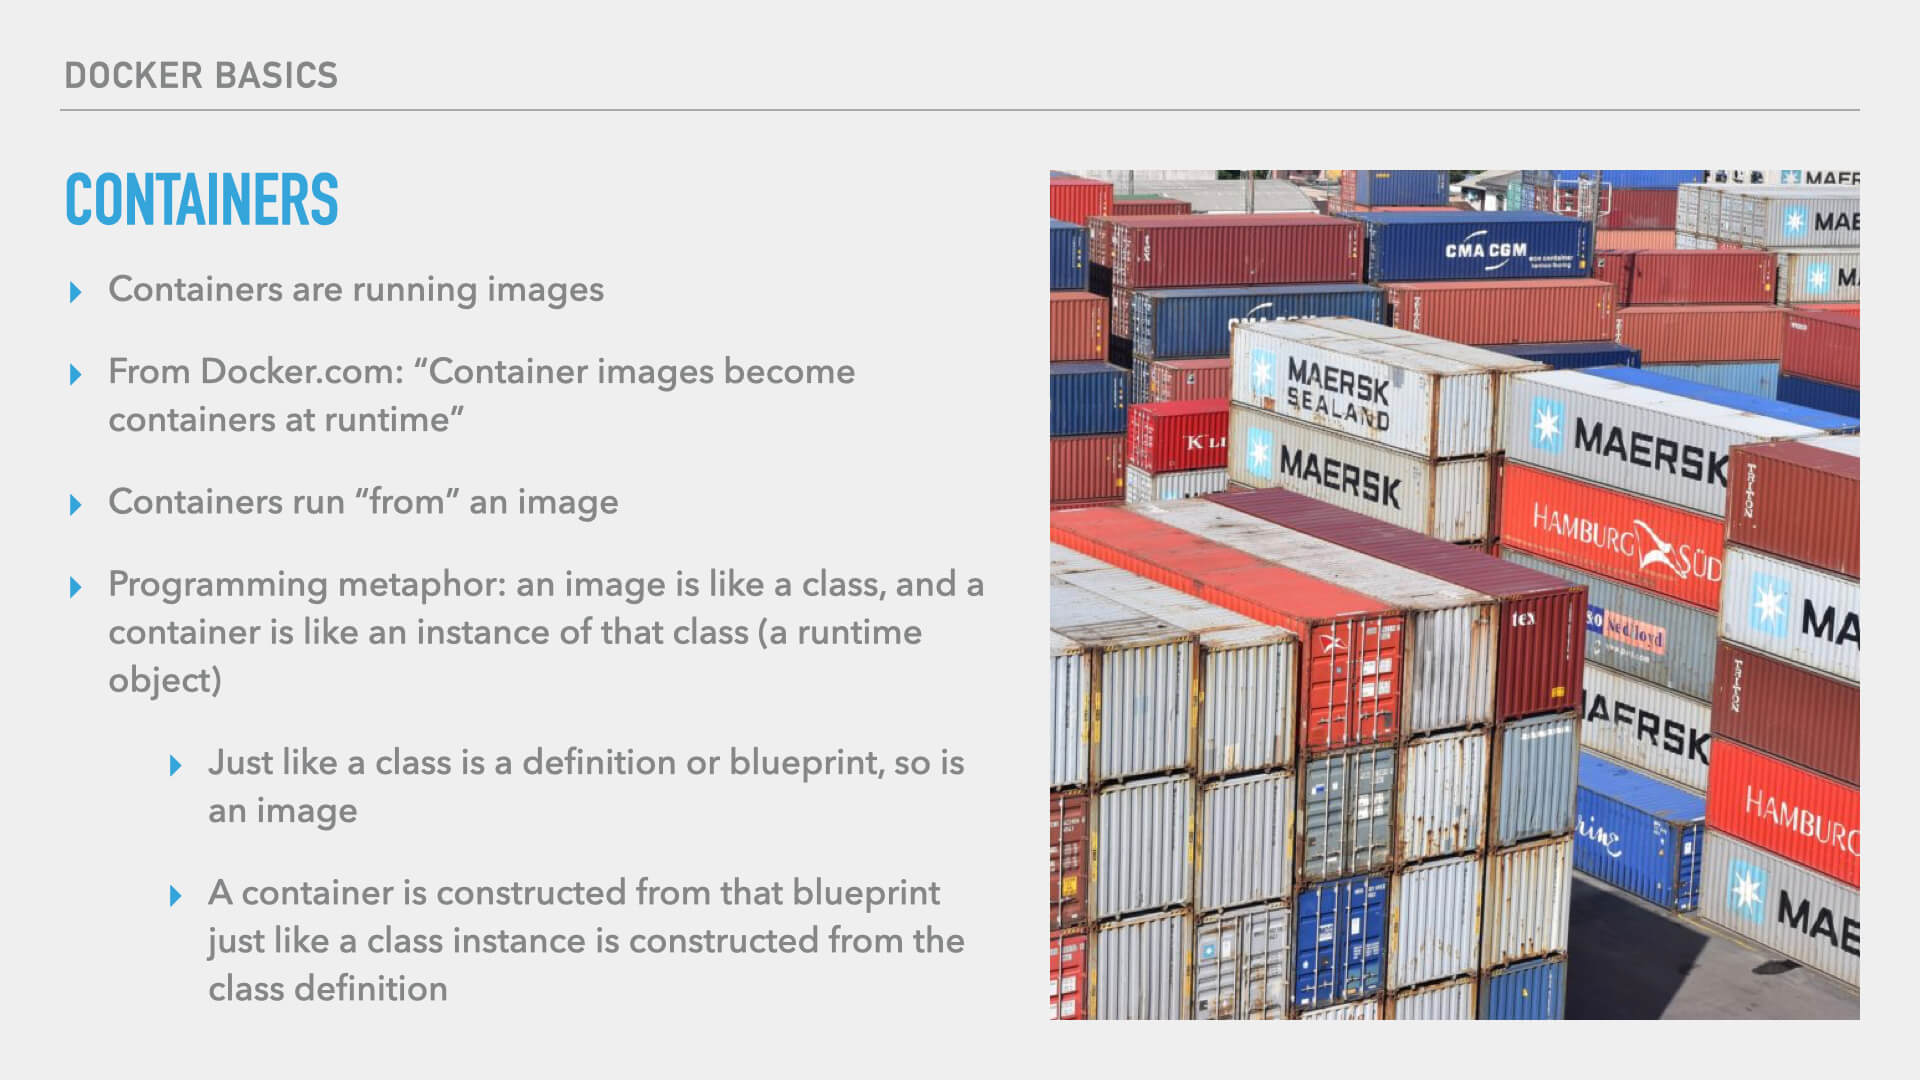
And what do you do with those images? You create containers. Containers are what we call the running images. According to Docker’s documentation, “Images become containers at runtime.” So, containers run “from” an image.
Tip
I like to bring in a programming metaphor to help explain, and if you’re familiar with object-oriented programming this will make some sense to you:
Think of an image like a class, and a container like an instance of that class. So, just like a class is the definition or blueprint from which an instance is created, so is a Docker image. A container is constructed from the blueprint of the Docker image just like a class instance is constructed from a class definition.
Ephemerality
Recall that I mentioned that images were inert and, importantly, immutable. Once an image is created it doesn’t change. To change an image, you build a new image. That’s why it’s important here to talk about the ephemeral nature of anything that happens inside a container. Unless you take steps of preservation, anything you do inside a running container is ephemeral. When an image stops running, anything you “saved to disk” is gone. This is, obviously, very important to know. So now you might be thinking, “what is the point then?”
Volumes
Docker has provided a way to handle permanence. And that way is volumes.
Volumes are the mechanism for persisting data across container stops and starts, new containers being brought online to replace old ones, etc. A volume is just a local filesystem resource such as a file or a directory mounted into a running container at a specified mount point. If you know anything about unix mount points, Docker Volumes work in exactly the same way. You can define a file path on the host to mount into the running container, or you can tell Docker to create a volume, manage it, and mount it into the running container.
Note
If you want a deeper technical dive into Volumes, I recommend this article on container-solutions.com titled, “Understanding Volumes in Docker.”
Docker Compose
Last, but, certainly not least in our key concept exploration, we’ll explore Docker Compose.
Many of your applications may need more than one container and Docker Compose is the way you can define a multi-container environment. You will, of course, need a container to run your app, but you may also want to run containers for things like Redis, MongoDB, or MySQL. Or, a common need I’ve had is to spin up containers as services that will, essentially, run cron jobs (or, the equivalent). These may use the same image as your primary application container — which is just another beauty of Docker and the image-based ecosystem. Whatever the need, you will almost certainly need to define more than one container for many of your applications.
And even if you have only one container in your application, it’s still very useful to define the various things your container will need, volume mounts being one example.
Let’s look over a very simple and truncated Docker Compose file.
Note
Docker Compose files are written in YAML. YAML is quite common as a configuration language these days, and that’s what Docker Compose uses. It’s a very readable language in which indentations define the relationship of children and parents. It’s a pretty simple language to pick up, and you can certainly find more online if you need to know the basics of the language.
In this example, I’ve created a simple Docker Compose YAML file (docker-compose.yml) that defines a couple of containers, and a managed volume.
services:
  app:
    image: php:apache-buster
    ports:
      - "5000:80"
    volumes:
      - .:/var/www/app:delegated
  database:
    image: mariadb
    ports:
      - "5100:3306"
    environment:
      MYSQL_ROOT_PASSWORD: root
    volumes:
      - db-volume:/var/lib/mysql:delegated
  redis:
    image: redis:alpine
volumes:
  db-volume:
A Docker Compose file needs an array of “services.” Each key in this array defines a container. For instance, I’ve used a key named “app” to define my primary application container. For the app, I’m using a vanilla PHP image, but this could be any image that suites your app’s needs.
For the purposes of development and this demo, I’m doing some port mapping ("5100:3306"). With the port mapping, I’m telling Docker that when I access my machine’s local host on port 5000, it should map that to port 80 in the container. This is something you would only do for your local dev, and not something you would do in production. In fact, if you’re using Docker Swarm in production, which is what I recommend if you’re running you’re own Docker server, this setting won’t even have any effect. There are also a variety of ways around port mapping in local dev which are beyond the scope of our key concepts here.
You can also see in the examples that I’ve defined some volumes for our app container. In this case, again, for local dev (not something you’d do in production), I’ve mounted the entire codebase on my computer’s filesystem to /var/www/app in the container. I’ve also used the :delegated flag, which will give your local dev environment a slight I/O speed increase. You can read more in Docker’s documentation. This, again, is for local development. In production, you would typically build all of your application’s files into the image. But you don’t want to run a build every time you make a change to files when you’re actively developing.
In the example I’ve also defined a database container. You can certainly run this in production, particularly on smaller apps. But in larger application environments, you may not be running a database container in your Docker stack, you may only need this for local dev and connect to a managed database in production. So that’s something to keep in mind. In any event, in the example I’m using a container to run MariaDB. And I’ve set up a volume for Docker to manage that MariaDB data will be stored in. In the volumes definition array, I’ve given the volume a name. This means Docker will create and manage a volume for me and I don’t have to worry about it or where it’s at. And then up in the container definition, I’ve mounted the volume at the point where MariaDB expects to find its data. Since MariaDB is a drop-in MySQL replacement, that path is /var/lib/mysql
And those are the key concepts to keep in mind as we move forward in understanding how to leverage Docker. In future lessons, we’ll start seeing all these concepts in action!
]]>If you prefer to read the lesson, rather than watch the video, I’ve got you covered!
Lesson article:
Why Docker?
At this point, you’ve probably heard of Docker. Its usage has grown by leaps and bounds. But what is Docker? What does it do? How does it work? What purpose does Docker serve? Well, there’s a good reason Docker has taken the web development and server world by storm. Docker upends the way traditional web application stacks work and how we think about them and gives us a much better model of application architecture management.
Let’s start with local development. Any developer is going to need an environment in which to run their application for development and testing. Most developers use more than one environment. In the web world, we have to run the entire web application stack in order to serve the application we’re working on to a browser so we can see the result of the code we’re writing.
If, for instance, you have an application that runs a Node based React front-end and a PHP back-end. You’ll need a web server and PHP, and you’ll probably need a database, whether that’s MySQL, Postgres, Mongo, or one of the other myriad available database engines. And you’ll need a Node installation to run the Node application, probably using Express or some framework built-in tooling (which is likely running Express somewhere behind the scenes). This means you have to install a lot of stuff on your computer and keep it at the right version for your application.
There have been various tools for getting this done over the years. You may have heard of some of them: MAMP, XAMPP, Vagrant, EasyPHP, Virtalbox, Laravel Valet — or maybe you’ve used Homebrew to install these tools directly on your computer.
But these solutions have some of fatal flaws. Let’s consider two of them:
The first is that it can take a while to get started on a new or existing project. You may have to install new or different versions of your various application stacks, and you may have to manage those versions in some way so that they don’t clash with the versions required to run other application stacks that you also work on.
The second issue of concern is that using older and more traditional methods of running your application on your local computer means that you are working in an environment that your application will ultimately not be running in. To put this in context and illustrate why it’s important, let’s say that you write a feature that requires a certain PHP extension to be loaded — and that extension is loaded by default in the environment you’re working in. But when you deploy to production your app crashes because that extension isn’t loaded in that environment. And then you have the dreaded, “well, it works on my machine.” And now you have to track down an incredibly hard to find bug that you can’t replicate in your development environment. The quip to, “well, it works on my machine,” is usually, “but we’re not shipping your machine to the user are we?”
But what if we could?
Docker, when leveraged to its full potential, essentially makes this possible.
In the following lessons, we’ll cover things like the terminology that Docker uses (what is a container, what’s an image, and what’s the difference), how to set up an environment that you can use from dev to production, and how you can make the most of Docker.
]]>